
There’s been a considerable amount of questions regarding this particular seatpost, and for good reason. As I stated previously, if this seatpost worked it could very well be one of the best deals out there. At a selling price of $34.98, it is approximately 15% of the cost of the 2nd least expensive offering(Gravity Dropper). First off, let’s take a quick look at what else is available in the dropping seatpost market.
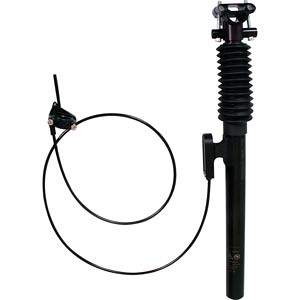
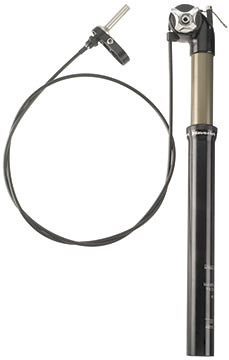
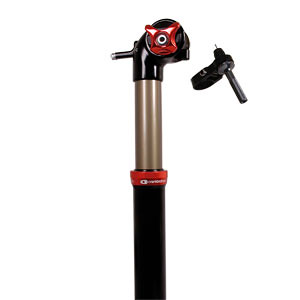
(Left to right)
Gravity Dropper($239.98)
Maverick Speedball($248.86)
Crank Bros Joplin($274.98)
These are prices I got from different websites but you may be able to find them for fairly cheaper(or fairly more expensive). Also note, I have not tested any of these other seatposts. All have a handlebar switch which the Ryde seatpost does not. A minor downside if this one worked correctly. My hope was that this would be the Sam Cassell of seatposts…not the best looking but still a champion.

The red lever is all you have to deal with on the Sette Ryde ST-850. It’s just that simple. However, the one “issue” you’ll run into is weighting the seatpost at the proper angle. At first I was jumping and slamming my weight straight down, with little result. I’m 155 pounds so I was afraid I was too light. This was most definitely not the case. It’s a very easy technique but took me about 3 rides to figure out and perfect. The video below shows me weighting the seat with my arm but here’s how to make your Ryde seatpost work in the real application.
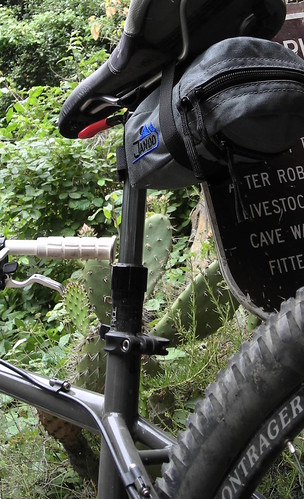
How to weight your Ryde ST-850:
I’ll assume we’re all riding along as this is the whole point of the seatpost: so that you don’t have to stop to adjust. This requires a fair amount of balance and obviously you’ll have to be able to steer with one hand, while the other goes for the trigger which is right near your…uhh, saddle bag. Here’s where the technique comes in. You’ll want to scoot your ass up towards the front of your saddle. Second, grab that trigger(it’s extremely easy to pull and can be done with one finger). At the same time, with your weight toward the front of the saddle you’ll have to lean your body back, as if you were in a recliner, until your weight is in line with the angle of your seat tube. When you hit this angle you’ll know it as your post will drop ever so comfortably and easily down. Simply let go of the trigger at this point(if you don’t the post will pop back up to full mast). Viola…now you’re ready to punish some downhill.
As soon as the hill starts pointing up just reach down, get your ass off the saddle, and pull the trigger. Bam! Seatpost is back to climbing height in less than a second. After a while it’ll become second nature to you. I can adjust the post up or down within about a second, either way with ease. Believe me, the extra leg room is a welcome luxury on descents when you’re riding a bike with no suspension.
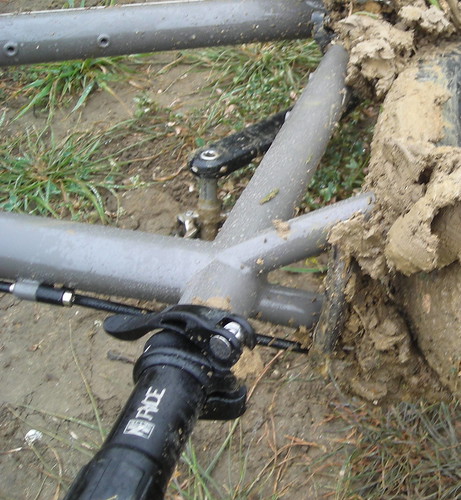
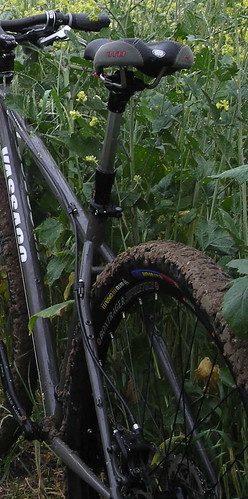
First ride with the Ryde(that’s redundant) was the mud and clay filled mess you see above. The post did get that “sticky” feel but I lathered some grease on there, pumped the post a few times and its been going strong for months.
The only technical downside, in comparison with its high-priced brethren, is the lack of adjustments through the 3-4 inches of travel. But think about it a second. Are you really going to need to adjust your seatpost that much? When I’m riding I don’t want to have to worry about weather I need my post 1 inch lower or 1 3/4 lower. I either want my post up for climbing or down for descents. Don’t make me think beyond that, dammit! I just want to ride my bike.
The Ryde ST-850 lets you do just that. Hey, but the Ryde doesn’t have a cool cord and handlebar knob! Ya, well, if you need shiny parts and a little bit more makeup on your post then get out your credit card and have at it. You’ll be spending 85% more for a post that, in reality, does the same exact thing! After riding this post I look at the pricey alternatives and laugh. This is the greatest deal I’ve ever come across in mountain biking components. The shear savings from the alternatives is reason enough alone to buy the Ryde ST-850. Its durability and ease of use are icing on top of a very inexpensive, but delicious cake.

-
-
-
-
-
-
-
-
-
-
Show CommentsBuild your own remote with an old shifter, take out the indexing plastic, and the seat post will spring the shifter bar back. Mount a piece of metal on the lever so you can use a cable to pull on it from the back side. You can drill a tiny hole thru the top piece of the seat adjustment piece, thread the cable thru.
Good luck.
“My hope was that this would be the Sam Cassell of seatposts…not the best looking but still a champion.” I almost choked on my water with that line. That is hilarious!
Great review, Lance.
Good review.
I use a Gravity Dropper on my every day ride and I do have to say…an adjustable seatpost is really worthless to me without the remote switch on the handlebar. I use the post in more situations that my hands can not leave the bar than times they could. The Gravity Dropper also comes with incredible customer service. The mechanism inside the unit is a pin/magnet design that is also very easy to service if needed.
really cool music on the video
I Have a gravity dropper and I also bought one of these it took a while To figure out the Leverage to get itto move. Haven’t had many rides on it did not like the up and down movement My 2 cents
Thanks for the instructive tip on getting the Ryde to go down easily… Installed mine yesterday and was thoroughly annoyed to find it nearly impossible to get it to drop while riding. Tried your trick — instant success. Looking forward to trying it on technical terrain this weekend.
Drew, glad you got it figured out.
It really is a stellar seatpost at a ridiculous price. Once you get the proper body mechanics to drop it, you wonder why similar seatposts are priced over $170 more!
Jon,
Do you have pictures of the remote that you built? I’d like to try, but would like to see the one you perfected.
hey thanks for all the tips. going on my first ride tomorrow with it.
it was great!!!! Go and get some