Skip to content
-
Subscribe to our newsletter & never miss our best posts. Subscribe Now!
MtnBikeRiders.com

Just an old mountain biking site

MtnBikeRiders.com

Just an old mountain biking site

  • Home
  • Contact US
  • FTC Disclaimer
  • Guest Posts
  • OFFICIAL RACE TEAM
  • Store
    • Cart
    • Checkout
    • Clear
    • IPN
    • Receipt
  • About MtnBikeRiders.com
  • Home
  • Contact US
  • FTC Disclaimer
  • Guest Posts
  • OFFICIAL RACE TEAM
  • Store
    • Cart
    • Checkout
    • Clear
    • IPN
    • Receipt
  • About MtnBikeRiders.com
Close

Search

  • https://www.facebook.com/
  • https://twitter.com/
  • https://t.me/
  • https://www.instagram.com/
  • https://youtube.com/
Subscribe

Hot To Slime Presta Valve Tubes

By RL Policar
December 21, 2006 3 Min Read
1

I wrote this for a different commuter site. But I figured you all might enjoy it.

For the most part putting Slime into presta valves was a bit of a mystery for most consumers. But you’d be surprised to know that you could actually get it done for half the price it would have cost to buy 1 pre-Slimed tube.

I went back to Jax Bicycle Center in Fullerton to get some advice from Scott Moore, a resident mechanic of the shop.

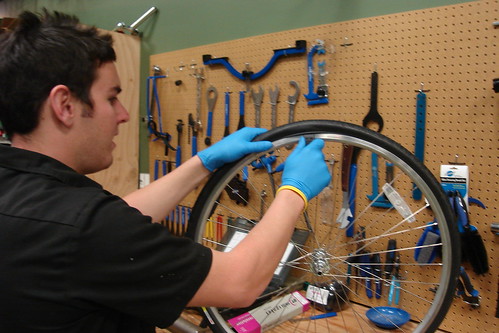
He was able to show me how they Slime presta tubes at the shop. We used the Redline 925 as the test subject.

First things first, remove the tube from the wheel.
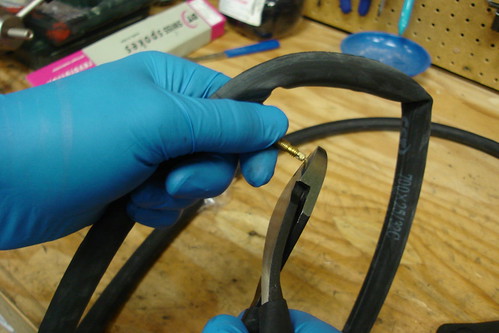
Keep the valve closed and take some pliers and cut the very tip of the valve.
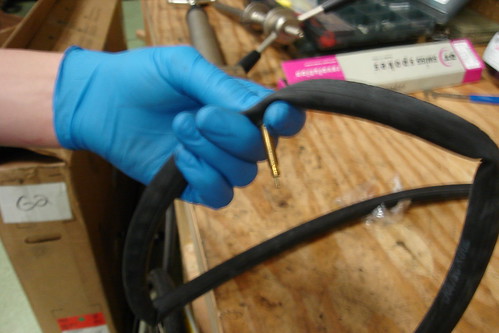
This next step is the most crucial part. Place your thumb below the valve to prevent the needle from falling into the tube. Hold the pin in place during the whole time. If you lose the valve in the tube, it could mean you buying a new tube.
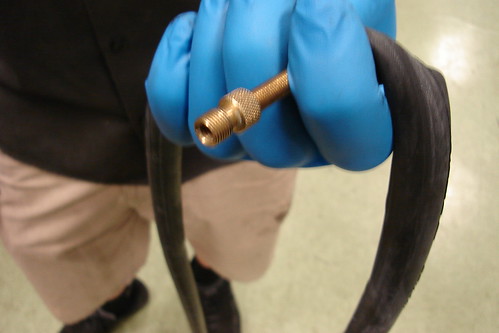
Then place a Shrader valve adapter on the stem. Make sure you keep your thumb under the valve…
Since we’re at the shop, we used the Slime pump to fill the tube up with the green stuff. Don’t hold the pin too tightly.
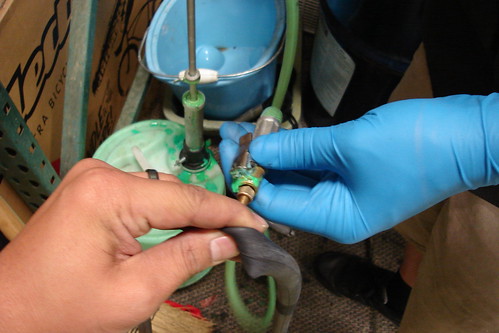
If it’s too tight, you can get Slimed from the back pressure.
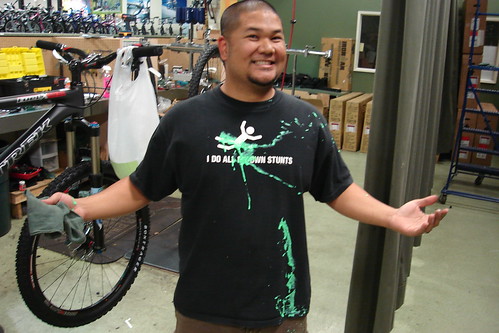
If you’re doing this at home, you can still use a bottle of Slime for this project. Just simply fill your tube as the direction states. But remember, don’t let go of the pin!

Now here’s the magic of it all. Once you’ve got enough Slime in there, blow pressurized air into the valve. See how Scott is still holding the pin. What happens after the tube gets enough air, the pin will shoot forward, making it visible.
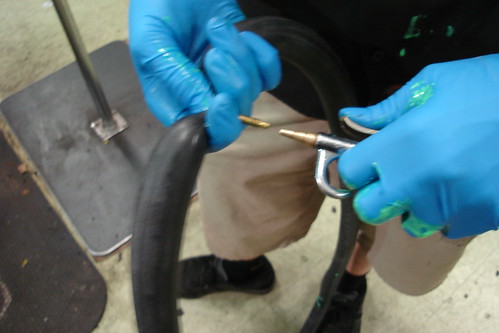
Here’s a shot of the pin out of the valve stem after getting air in the tube.
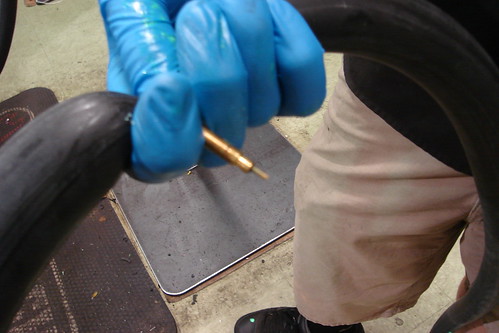
Then what you want to do is grab your pliers, hold the pin, then screw on the valve top.

Mount the tube back in to the wheel, fill it up with air, and you’re back in business!

Just keep in mind that the valve head can screw off completely. So when you need to fill it back up with air, just don’t unscrew it all the way.

Thanks again to Scott Moore of Jax Bicycles of Fullerton.

No related posts.

Author

RL Policar

RL Policar is an avid mountain biker and the Editor In-Chief of MtnBikeRiders.com and BikeCommuters.com. Between the two sites, he's published well over 4,000 articles (and growing).

Follow Me
Other Articles
Previous

Make your own Action-Cam

Next

Make Your Own Seat Bag

One Comment
  1. gyrgrls says:
    April 14, 2010 at 9:35 am

    Hot to slime, by golly.
    Thanks for telling us how to, too. 🙂

Leave a Reply

Your email address will not be published. Required fields are marked *

Links

  • Cock Coffee

Archives

Recent Comments

  • Fabricio Delfino on Review: KHS DH200 Downhill bike
  • Craig Cuttone on REDLINE’S NEW D880 & D860 and Hardtail D680 29er’s
  • JML on Product Review: Mighty Mendit
  • Hardtail Mountain Bikes: Exploring the Pros, Cons, and Best Use Cases on Full suspension or Hardtail? Pros and cons
  • Ray Johnathan on Nulksen Tire Inflator Portable Air Compressor first impressions

Links

  • Cock Coffee

Categories

  • 29er
  • All- Mountain
  • Articles
  • California Mountain Bike Directory
  • Company Profiles
  • Downhill
  • ENDURO
  • Events
  • How To's/Tech Tips
  • Humor
  • Injurded Rider
  • Interbike 2007
  • Interbike 2008
  • Interbike 2009
  • Interbike 2010
  • Interbike 2011
  • Interbike 2012
  • Interbike 2013
  • Interbike 2015
  • Interbike 2017
  • Main
  • Mountain Biking
  • News
  • Nonsense
  • Off Topic
  • Products
  • Projects
  • Reviews
  • Ride Reports
  • Safety
  • Screen
  • Sea Otter 2007
  • Sea Otter 2008
  • Sea Otter 2009
  • Sea Otter 2011
  • Sea Otter 2015
  • Sea Otter 2017
  • Single speed
  • Team MtnBikeRiders.com
  • WTF
Copyright 2026 — MtnBikeRiders.com. All rights reserved. Blogsy WordPress Theme