Skip to content
-
Subscribe to our newsletter & never miss our best posts. Subscribe Now!
MtnBikeRiders.com

Just an old mountain biking site

MtnBikeRiders.com

Just an old mountain biking site

  • Home
  • Contact US
  • FTC Disclaimer
  • Guest Posts
  • OFFICIAL RACE TEAM
  • Store
    • Cart
    • Checkout
    • Clear
    • IPN
    • Receipt
  • About MtnBikeRiders.com
  • Home
  • Contact US
  • FTC Disclaimer
  • Guest Posts
  • OFFICIAL RACE TEAM
  • Store
    • Cart
    • Checkout
    • Clear
    • IPN
    • Receipt
  • About MtnBikeRiders.com
Close

Search

  • https://www.facebook.com/
  • https://twitter.com/
  • https://t.me/
  • https://www.instagram.com/
  • https://youtube.com/
Subscribe
plastidip
How To's/Tech TipsMountain Biking

Changing up your bike’s color with Plasti-Dip

By RL Policar
September 26, 2013 3 Min Read
2

I’m sure you’ve all heard of Plasti-Dip. It’s that rubber coating that you can dip your tools into so you’ll get a rubberized surface. If you have pair of pliers that have a rubber handle, that stuff is like Plasti-Dip.

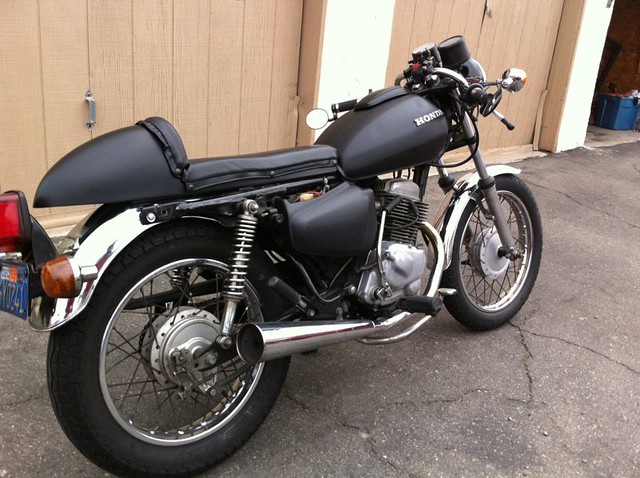
However, what I did was use the spray can version of it. Since I’ve been watching Youtube Videos on how people use Plasti-Dip (dip) on various car, wheel, motorcycle and anything that people want dipped. My first experience with it was my motorcycle.

I wanted to change up the way it looks, and what better way to do that than the color. I went with the matte black. I bought 2 cans from Home Depot for $5.97 each.Below are my side covers and tank.
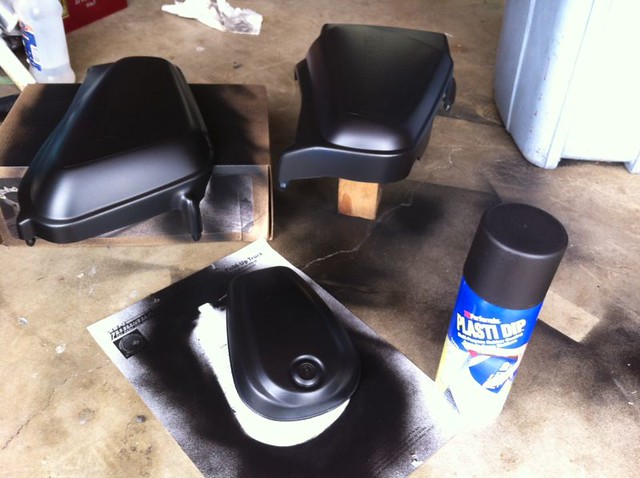
photo
Here’s how they turned out.
photo
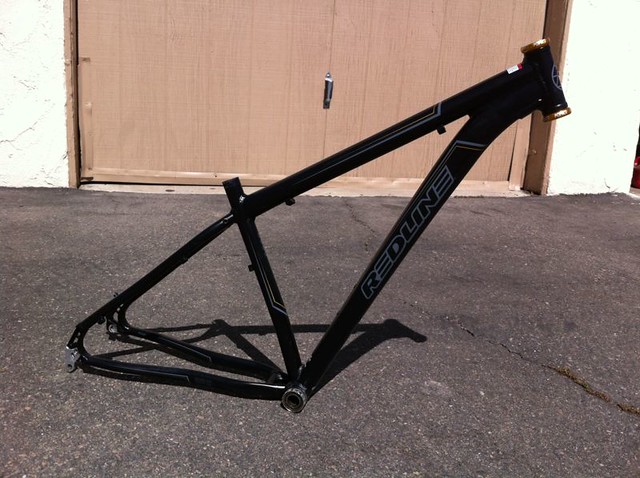
Knowing that it was easy to use and the dip was readily available, I decided to try it on Burt Reynolds. Stripped down the bike to it’s frame. Gave it a good washing by using soapy water and some degreaser.
photo
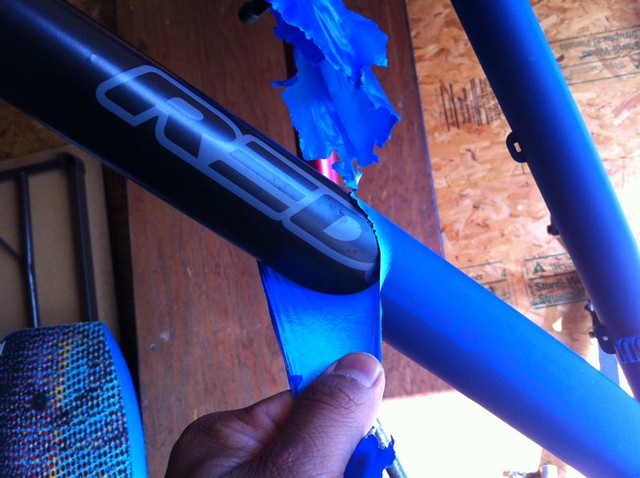
As I started working, I noticed that there was a texture starting to develop with the dip. Not satisfied with it, I decided to rip off the 4 coats that I just did and start over. Look, it really does just peel off!
photo
By the way, I didn’t bother removing the headset cups and bottom bracket cups. I made sure to spray directly on them because the dip easily peels right off once you’re done.

After 5 coats, that’s 1.5 cans of Dip, I got this.
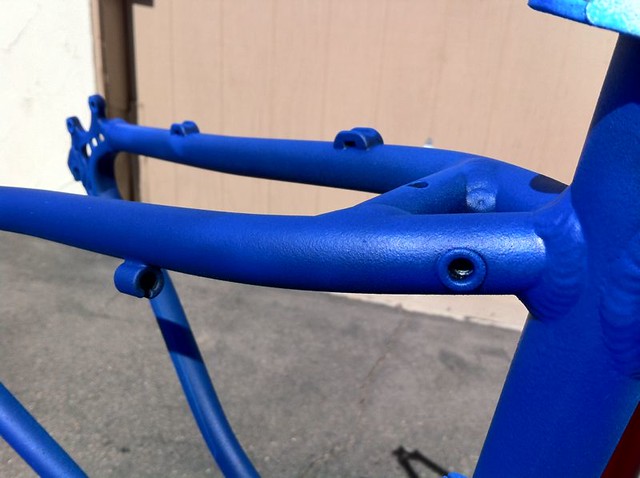
photo
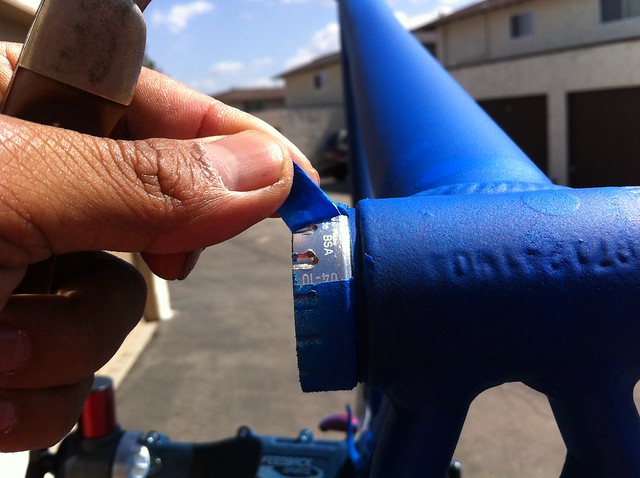
Remember the bottom bracket cups? Well all I had to do was cut around them with a sharp knife and peel. I did the same for the headset.
IMG_0878
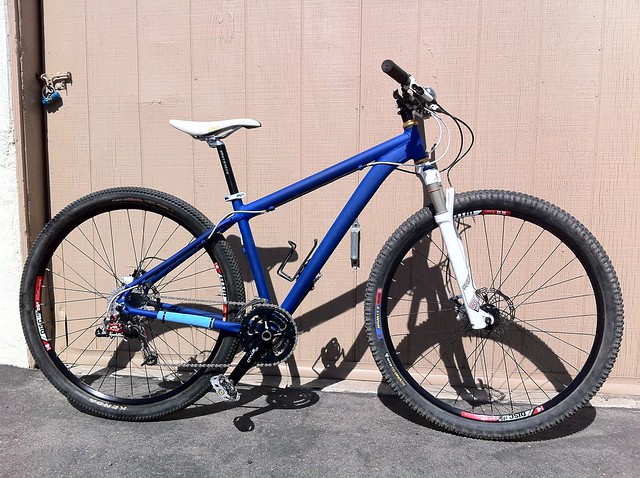
Here’s the finished product. Not bad eh. I’m not entirely convinced if I like the way this color covers. You can still see the REDLINE logo underneath. Not that I don’t like REDLINE, love those guys, but the black dip covered up everything on my motorcycle.
IMG_0880
Here’s a closer look of the frame.
IMG_0887
My Chris King headset nice and clean, no dip residue.
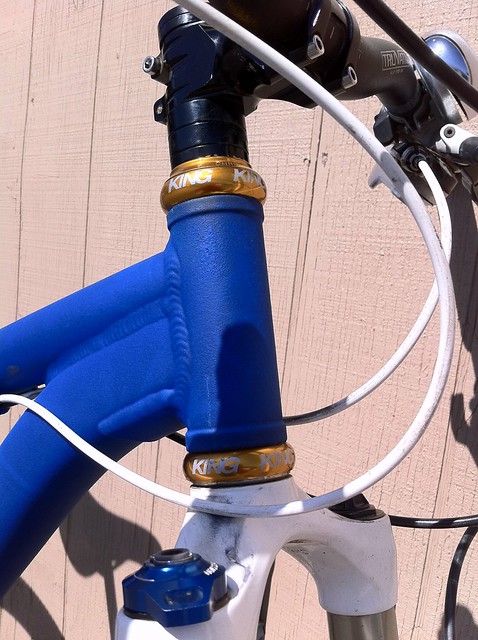
IMG_0886

I’ll be riding this weekend to see how well it holds up. By the way this stuff gets EVERYWHERE! But the good thing is, its easy to clean up.
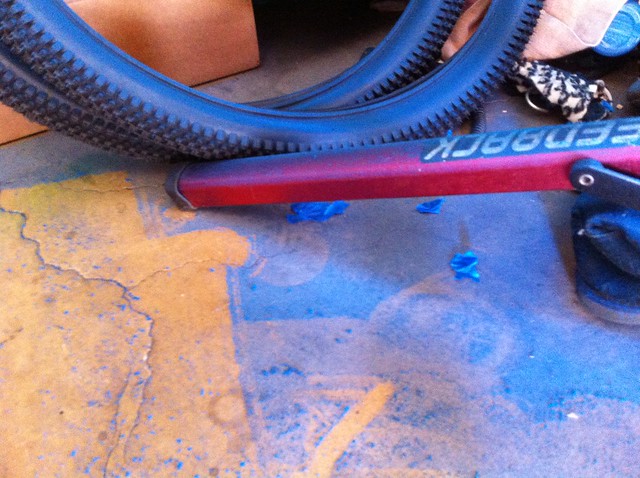
IMG_0877
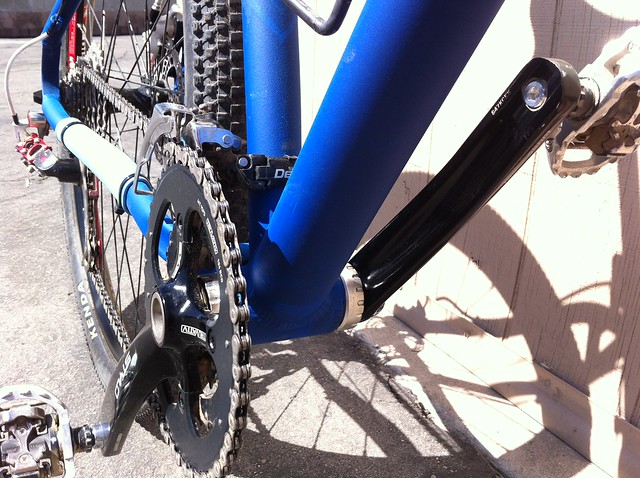
One thing to keep in mind when working with dip. Do it where there is very little wind. Also, I learned that you have to hit the spray nozzle before you spray the frame. If you point the nozzle to the frame, then hit it, you’ll get globs. So remember, hit nozzle, spray, then pass over the frame. You can find basic colors of Plasti-Dip at your local Home Depot for $5.97. I happen to get lucky with the Blue Blaze color, they normally don’t stock that. Plasti-Dip offers a variety of colors and you can order them online, but be prepared to pay as much as $10 a can plus shipping.

Related posts:

  1. Top 50 Reasons Why You Shouldn’t Get into Mountain Biking
  2. Getting your mechanical brakes to feel like hydraulic brakes: Update
  3. Funk Cycles: a 29er Full Suspension that weighs 20.75lbs
  4. Hurt my back, no ride, got bored and built up a bike

Tags:

29erdip your bike plasti dip your bicycle framehow tomountain bikingmtnbikeriders.com
Author

RL Policar

RL Policar is an avid mountain biker and the Editor In-Chief of MtnBikeRiders.com and BikeCommuters.com. Between the two sites, he's published well over 4,000 articles (and growing).

Follow Me
Other Articles
Previous

INTERBIKE 2013: DOWNHILL BIKES

Next

INTERBIKE 2013: SONY POV ACTION CAM

2 Comments
  1. WillyC says:
    October 30, 2013 at 4:34 pm

    Just curious how much poundage you added to the frame with this. Did you weigh before/after? I have a project, and at the paint stripping stage. Trying to decide whether to just clear coat it, or may try the dip.

  2. RL Policar says:
    November 1, 2013 at 9:34 am

    Never weighed it. Try the dip, it’s fun. Besides if you don’t like the color, you can always change it up later. The stuff peels off like a rubber glove.

Leave a Reply

Your email address will not be published. Required fields are marked *

Links

  • Cock Coffee

Archives

Recent Comments

  • Fabricio Delfino on Review: KHS DH200 Downhill bike
  • Craig Cuttone on REDLINE’S NEW D880 & D860 and Hardtail D680 29er’s
  • JML on Product Review: Mighty Mendit
  • Hardtail Mountain Bikes: Exploring the Pros, Cons, and Best Use Cases on Full suspension or Hardtail? Pros and cons
  • Ray Johnathan on Nulksen Tire Inflator Portable Air Compressor first impressions

Links

  • Cock Coffee

Categories

  • 29er
  • All- Mountain
  • Articles
  • California Mountain Bike Directory
  • Company Profiles
  • Downhill
  • ENDURO
  • Events
  • How To's/Tech Tips
  • Humor
  • Injurded Rider
  • Interbike 2007
  • Interbike 2008
  • Interbike 2009
  • Interbike 2010
  • Interbike 2011
  • Interbike 2012
  • Interbike 2013
  • Interbike 2015
  • Interbike 2017
  • Main
  • Mountain Biking
  • News
  • Nonsense
  • Off Topic
  • Products
  • Projects
  • Reviews
  • Ride Reports
  • Safety
  • Screen
  • Sea Otter 2007
  • Sea Otter 2008
  • Sea Otter 2009
  • Sea Otter 2011
  • Sea Otter 2015
  • Sea Otter 2017
  • Single speed
  • Team MtnBikeRiders.com
  • WTF
Copyright 2026 — MtnBikeRiders.com. All rights reserved. Blogsy WordPress Theme