
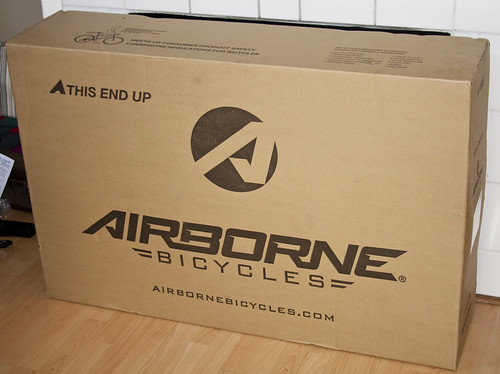
I was out of town this week for work, and when I came home I had package waiting for me from Airborne Bicycles.
I was planning on meeting up with RL and several other riders first thing Saturday morning for a ride at Whiting Ranch, so I spent some time to get the Goblin assembled and ready for a ride the next day. For those of you out there who have never built a bike, here’s a quick look at how the bike came, and how much assembly was actually required. I took pictures of each part as I unwrapped it and it came out of the box. Upon opening the box, the wheels were on top and the first thing to come out.
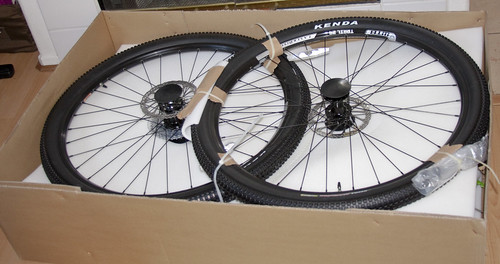
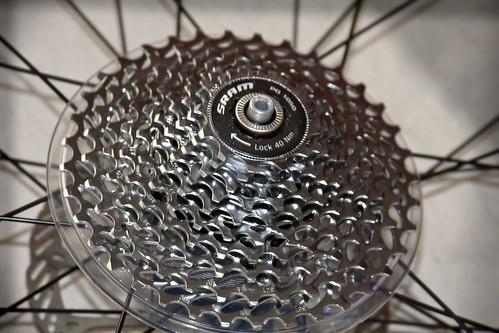
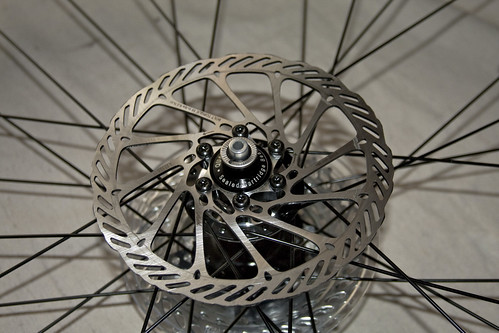
As you can seen the the photo, the ends of each hubs had plastic guards to prevent them from damaging any other components in the box during shipping. The wheels were also zip-tied together to prevent any unnecessary movement while still in the box. The wheels are equipped with SRAM’s new 10-speed cassette. This is the number one thing I have been looking forward to about this frame is being able to spend some extended time with the 2×10 system. I have demo’d it before on several other frames, but only a ride here and there. The wheels both have 160mm Avid rotors. Having removed all of the protective packaging, I set the wheels aside for later.
Individually wrapped were a few smaller components such as the skewers and the saddle, already mounted to the seat-post.
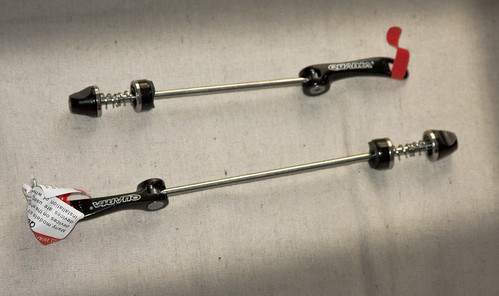
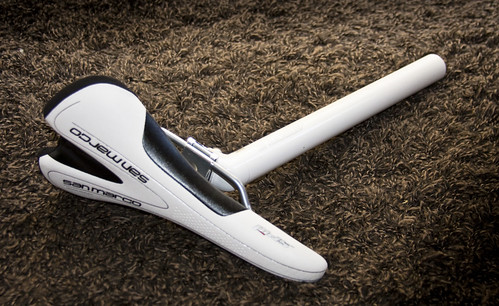
The last and largest part left in the packing was the frame itself. This was definitely the longest part of the unpackaging process in that there was lots small pieces of wrapping attached to the frame. Each tube has its own wrapping to protect it from damage. The frame in its entirety was also attached to cardboard supports in the box to keep it from moving during shipment. The frame already had the fork, bottom bracket, cranks, headset, stem, seat clamp, grips and brakes installed as well as the the derailleurs mostly installed. The rear derailleur still need to be attached to the frame, but all the cables and hydraulic lines were already run and in place.
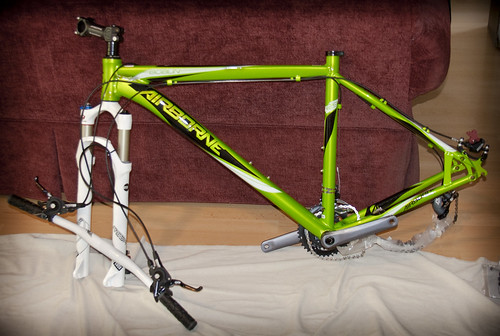
I attached the rear derailleur to the frame and straighten/aligned the front fork and the stem. While the stem was already install the bars were in installed on the stem, so the stem needed to be opened up to put the bars in place. Next the skewers needed to be placed in the wheels, so the wheels could be set into the frame. Once the skewers where in place, the protect plastic parts to keep the brake caliber from compressing needed to be removed. Once that was done the wheels were ready to be installed. FYI- Be very aware when seating your wheel that they are fully recessed into the dropouts. Losing a wheel while riding really sucks!
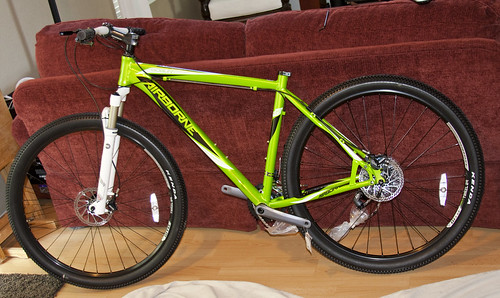
With the wheels installed that left the saddle and drive-rain as remaining parts in the box to be installed. I took a quick stab at the estimated saddle height and tightened down the collar. Then I completely removed the chain from the frame and wrapped it around the two largest cogs to confirm it was the appropriate length. I ended up taking a couple of links out. Once the chain was installed the rear derailleur needed to be adjusted. The only must have tool to put the bike together was really just my allen-wrench set. Two things that are not included in the box, were pedals and a water bottle cage. I stole those parts off another bike. I made some adjustment to cockpit of the Goblin to make it ready for me to ride. I moved the brake levers to the inside of the shifter and also moved both the shifters and levers much further in toward the center of the bars so that the brake lever is position so that I can brake with solely the index finger. I tend to do all of my shifting with my thumbs, and positioned the shifters accordingly as well. After spinning around in front of my house the final adjust I made was to the position of the saddle by sliding it futher back, away from the bars.
The Goblin was now ready for it first time in the dirt!
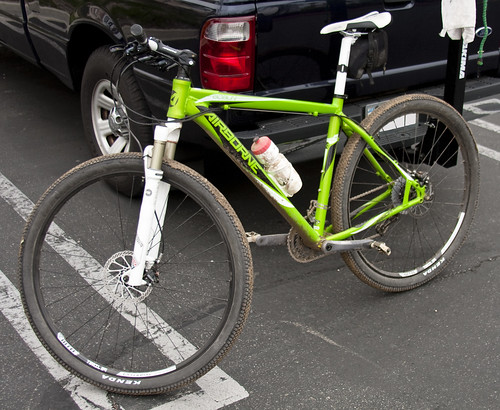
The full specifications and geometry for the Goblin can be found here on Airborne’s site. Stay tuned for for more pics and info on the Airborne Goblin!

-
-
-
-
-
Show CommentsCongrat on getting your new steed Dan.
Did you ride it at Whiting this weekend?
Yeah. Both Eric & I got out on the Goblin on Sat.
Dan, What size did you get?
It’s a large, so Eric & I will have spare/replacement parts! :o)