Skip to content
-
Subscribe to our newsletter & never miss our best posts. Subscribe Now!
MtnBikeRiders.com

Just an old mountain biking site

MtnBikeRiders.com

Just an old mountain biking site

  • Home
  • Contact US
  • FTC Disclaimer
  • Guest Posts
  • OFFICIAL RACE TEAM
  • Store
    • Cart
    • Checkout
    • Clear
    • IPN
    • Receipt
  • About MtnBikeRiders.com
  • Home
  • Contact US
  • FTC Disclaimer
  • Guest Posts
  • OFFICIAL RACE TEAM
  • Store
    • Cart
    • Checkout
    • Clear
    • IPN
    • Receipt
  • About MtnBikeRiders.com
Close

Search

  • https://www.facebook.com/
  • https://twitter.com/
  • https://t.me/
  • https://www.instagram.com/
  • https://youtube.com/
Subscribe
ArticlesHow To's/Tech TipsMainMountain BikingProjects

Double Banger Tandem Project Update: Cut em’ up!!!

By RL Policar
April 2, 2013 3 Min Read
3

The last time we talked about the full suspension tandem, we were still figuring out the final details on what it’s going to take to build this tandem. I headed over to Nick D’s shop and we did some measuring and some cutting.

One of the things Nick D wanted to do was measure our 2Fast4U tandem and improve on it’s geometry on the new tandem.
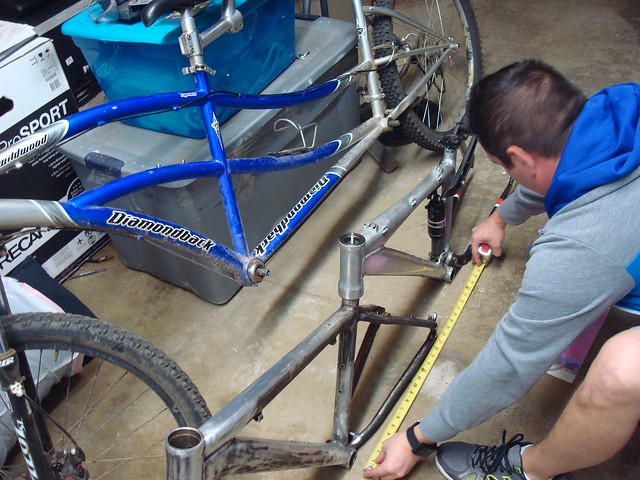
tandem mountain bike

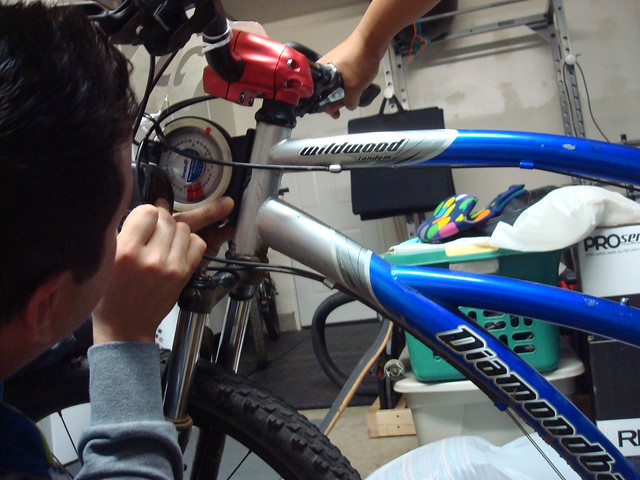
Not sure what this tool is called, but it some how measures the angles of things. So far the old tandem is sitting at 71 degrees. We want the new tandem to sit at 69 degrees. Don’t ask me how, but Nick D has it all figured out.
tandem

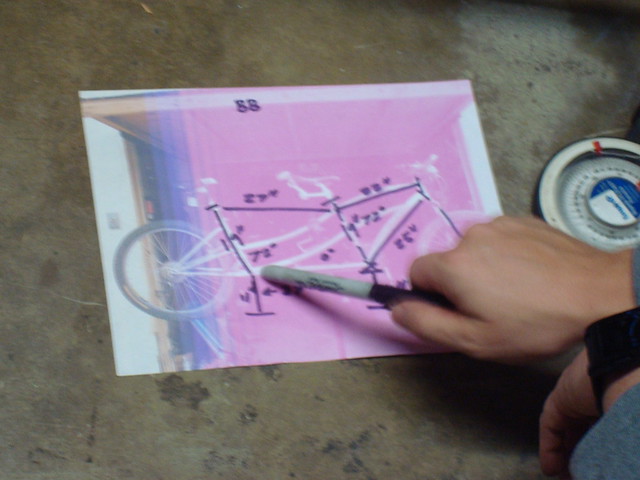
This is what we call our Pink Prints. This has a photo of the old tandem with measurements. One thing Nick and I remember from racing with it was the Stoker cockpit was a bit too cramped. Adding at least 2 inches to the rear would solve that problem.
mountain bike tandem

The following morning, we went for a ride. All that thinking makes my head hurt. Here’s a photo of Doc Thunda fixing Nick D’s busted chain. I would have helped but I didn’t want to get dirty.

aliso woods

After the ride, we went to the metal shop to get some tubing for the tandem and for the jig that Nick will build.
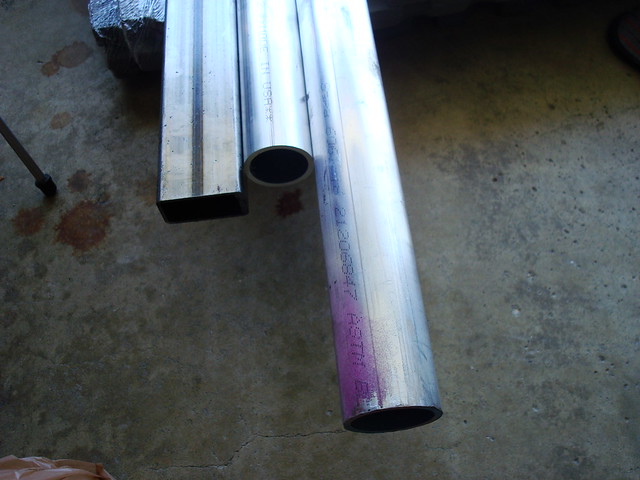
full suspension tandem

Here’s what I call the “Felt so wrong but oh so good” moment. Nick D, started cutting the frames. There’s just something naughty about cutting a perfectly good working frame…but it felt good to cut them. It was like a hot knife through butter.
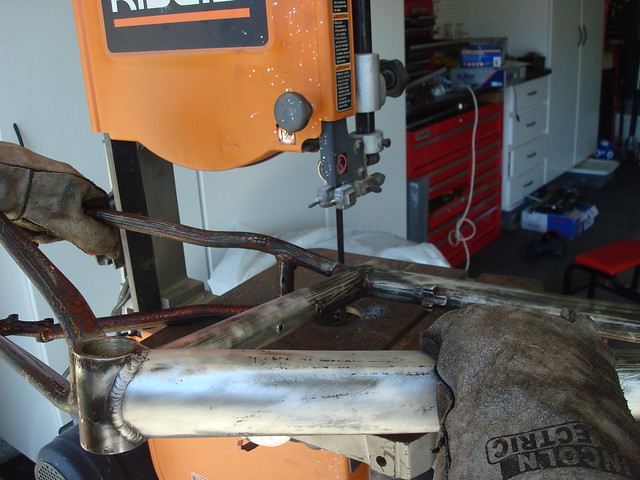
cutting bicycle frames

Here’s the aftermath…OH THE HORROR!
bicycle frames

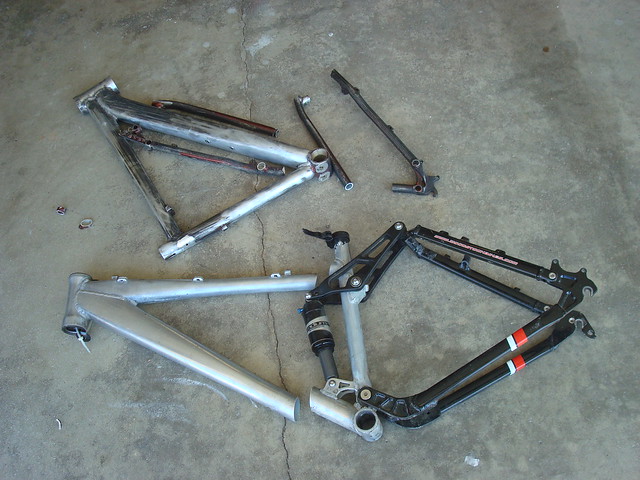
Now that the frames are cut, we wanted to get an idea on how it would look. Check it out!
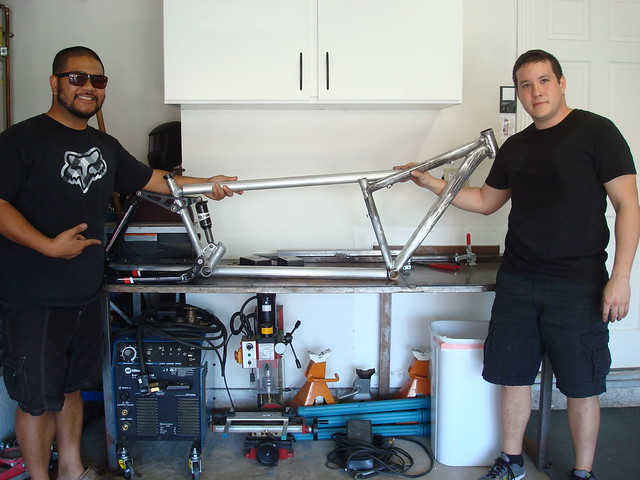
home made full suspension tandem

The next step would be to create the jig, mount the frames and start fitting the tubes. We’re pretty excited to do this project and I have to say, out of all our builds, this one takes the cake!

Related posts:

  1. Thursday Tech Tip: How to make a truing stand
  2. Going from 24 to 27speeds, its easier than you think!
  3. How To Bling Your Bike For Less Than $5.00
  4. Double Banger Tandem Build Progress Report

Tags:

full suspension tandem mountain bikemountain biking tandemmtnbikeriders tandem mountain bike
Author

RL Policar

RL Policar is an avid mountain biker and the Editor In-Chief of MtnBikeRiders.com and BikeCommuters.com. Between the two sites, he's published well over 4,000 articles (and growing).

Follow Me
Other Articles
Previous

It’s time to move on

Next

Not sure what to call it, but it sure is handy.

3 Comments
  1. Moses says:
    April 2, 2013 at 12:28 pm

    Alright!
    A very cool project. But a questions! It appears that both of the frames that you are using are Aluminum. Are you going to heat treat the finished tandem? Do you need to? I asked this question every chance I get. One because I am not a metallurgist, and would likely consider using JB Weld (weld in a tube) if I thought I could get away with it.

  2. Nickolaus D says:
    April 2, 2013 at 12:56 pm

    Moses:

    You are correct about both frames being aluminum. That allows them to be light and strong. This makes it easy for us to modify. The aluminum tubing we are using is 6061-T6. The lower tube is .120 wall 1.75″ dia and the upper is .120 wall 1.5″ dia. We will be adding a 1.375″ .083 wall diagonal tube for additional strength. We chose the 6061-T6 as its very affordable and the most readily available tubing. Ordering 7005 would have cost us more and needed to be special ordered. Although the heat treating would be pretty cool, it is not needed. With the larger wall thickness tubing, along with the bracing, it will be well overbuilt for our use. The tubing is artificially aged now to T6 so it does help.

    You can see more about T6 here:
    http://www.thefabricator.com/article/aluminumwelding/achieving-t6-designation-for-6061

  3. Moses says:
    April 2, 2013 at 2:23 pm

    Wow. Great information Nickolaus D…….thanks. Can’t wait to see the results.

Leave a Reply

Your email address will not be published. Required fields are marked *

Links

  • Cock Coffee

Archives

Recent Comments

  • Fabricio Delfino on Review: KHS DH200 Downhill bike
  • Craig Cuttone on REDLINE’S NEW D880 & D860 and Hardtail D680 29er’s
  • JML on Product Review: Mighty Mendit
  • Hardtail Mountain Bikes: Exploring the Pros, Cons, and Best Use Cases on Full suspension or Hardtail? Pros and cons
  • Ray Johnathan on Nulksen Tire Inflator Portable Air Compressor first impressions

Links

  • Cock Coffee

Categories

  • 29er
  • All- Mountain
  • Articles
  • California Mountain Bike Directory
  • Company Profiles
  • Downhill
  • ENDURO
  • Events
  • How To's/Tech Tips
  • Humor
  • Injurded Rider
  • Interbike 2007
  • Interbike 2008
  • Interbike 2009
  • Interbike 2010
  • Interbike 2011
  • Interbike 2012
  • Interbike 2013
  • Interbike 2015
  • Interbike 2017
  • Main
  • Mountain Biking
  • News
  • Nonsense
  • Off Topic
  • Products
  • Projects
  • Reviews
  • Ride Reports
  • Safety
  • Screen
  • Sea Otter 2007
  • Sea Otter 2008
  • Sea Otter 2009
  • Sea Otter 2011
  • Sea Otter 2015
  • Sea Otter 2017
  • Single speed
  • Team MtnBikeRiders.com
  • WTF
Copyright 2026 — MtnBikeRiders.com. All rights reserved. Blogsy WordPress Theme